Firmware Flashing Procedure
Perform the following procedure to flash firmware on the NCR 7879.
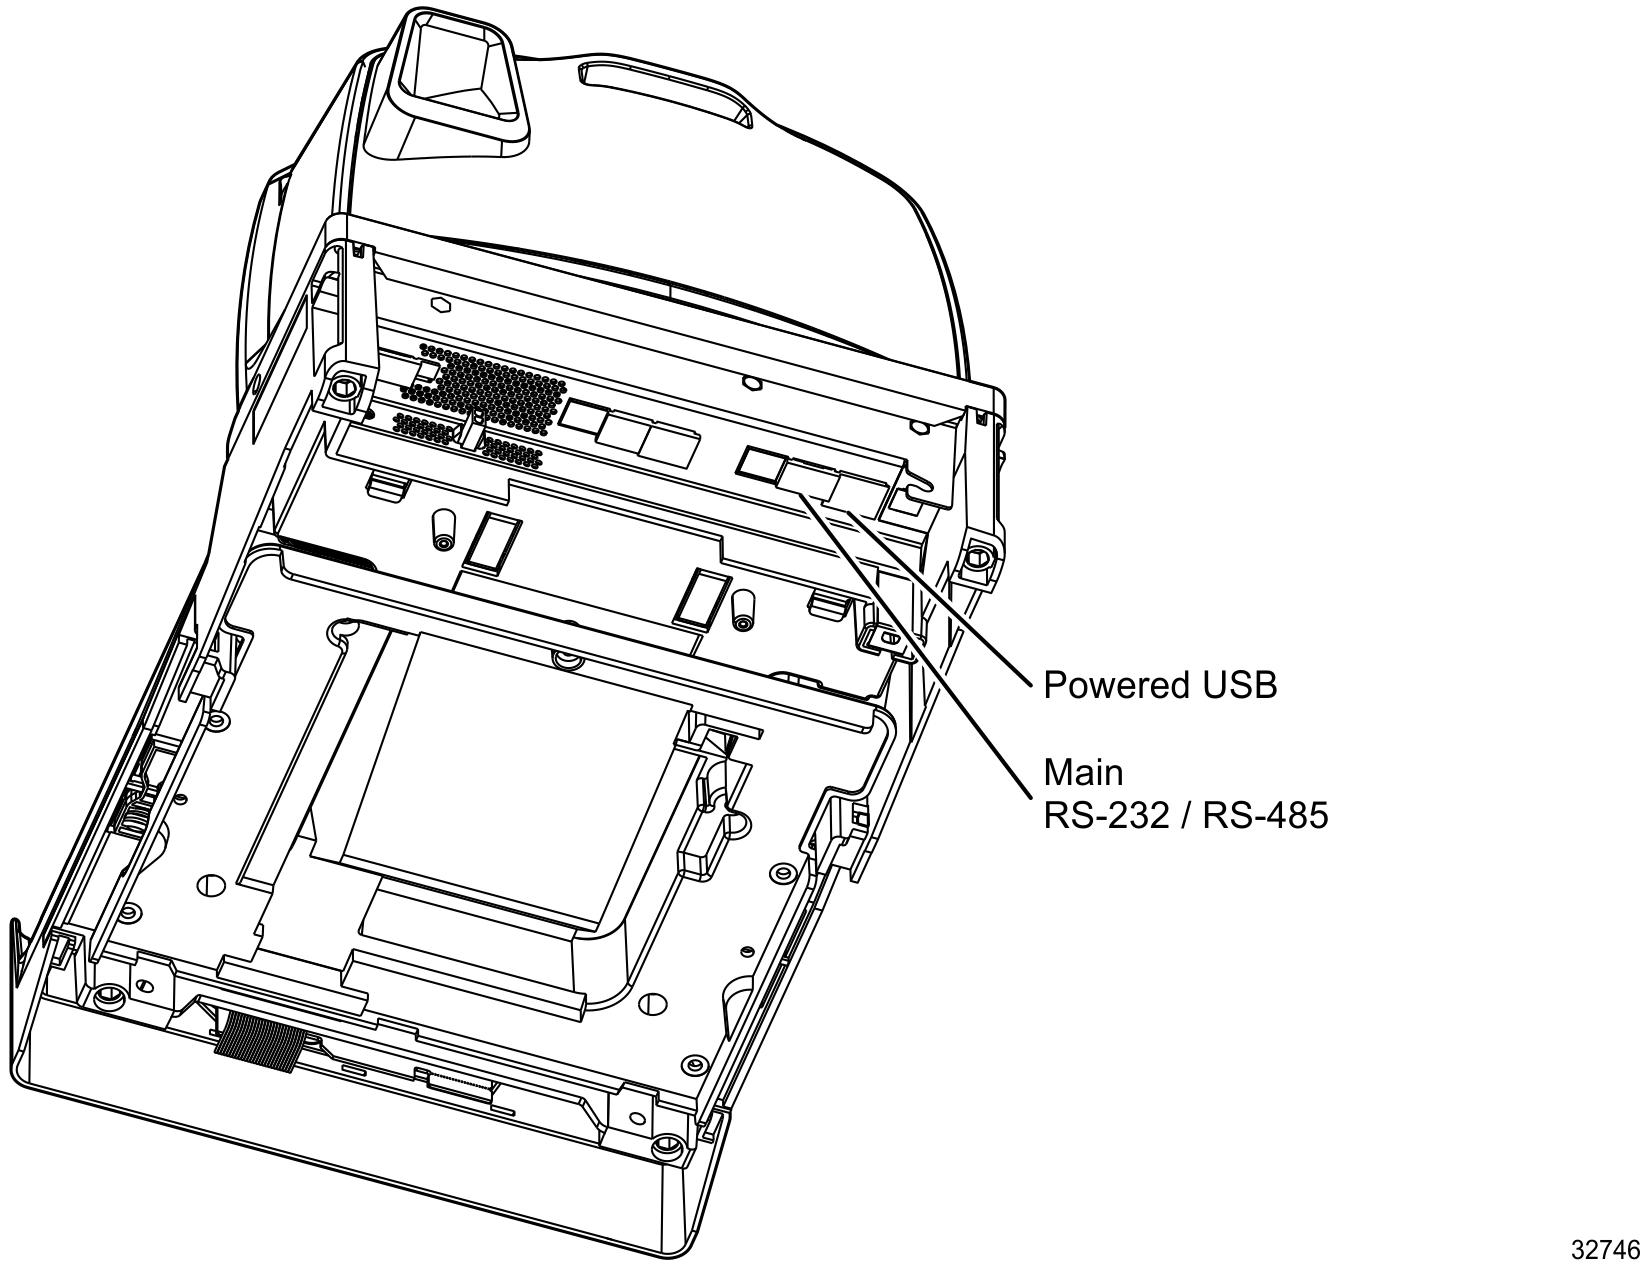
1.Apply power to the NCR 7879.
2.Connect the scanner to the PC or host terminal using an RS-232 cable or USB cable appropriate for NCR 7879 scanner. The RS-232 cable is part number 497-0300422 (1416‑C019-004), and the USB cable is 497-0445079 (1432-C158-0040).
3.Scan the Firmware Flashing tag. This puts the NCR 7879 in the firmware flashing mode.
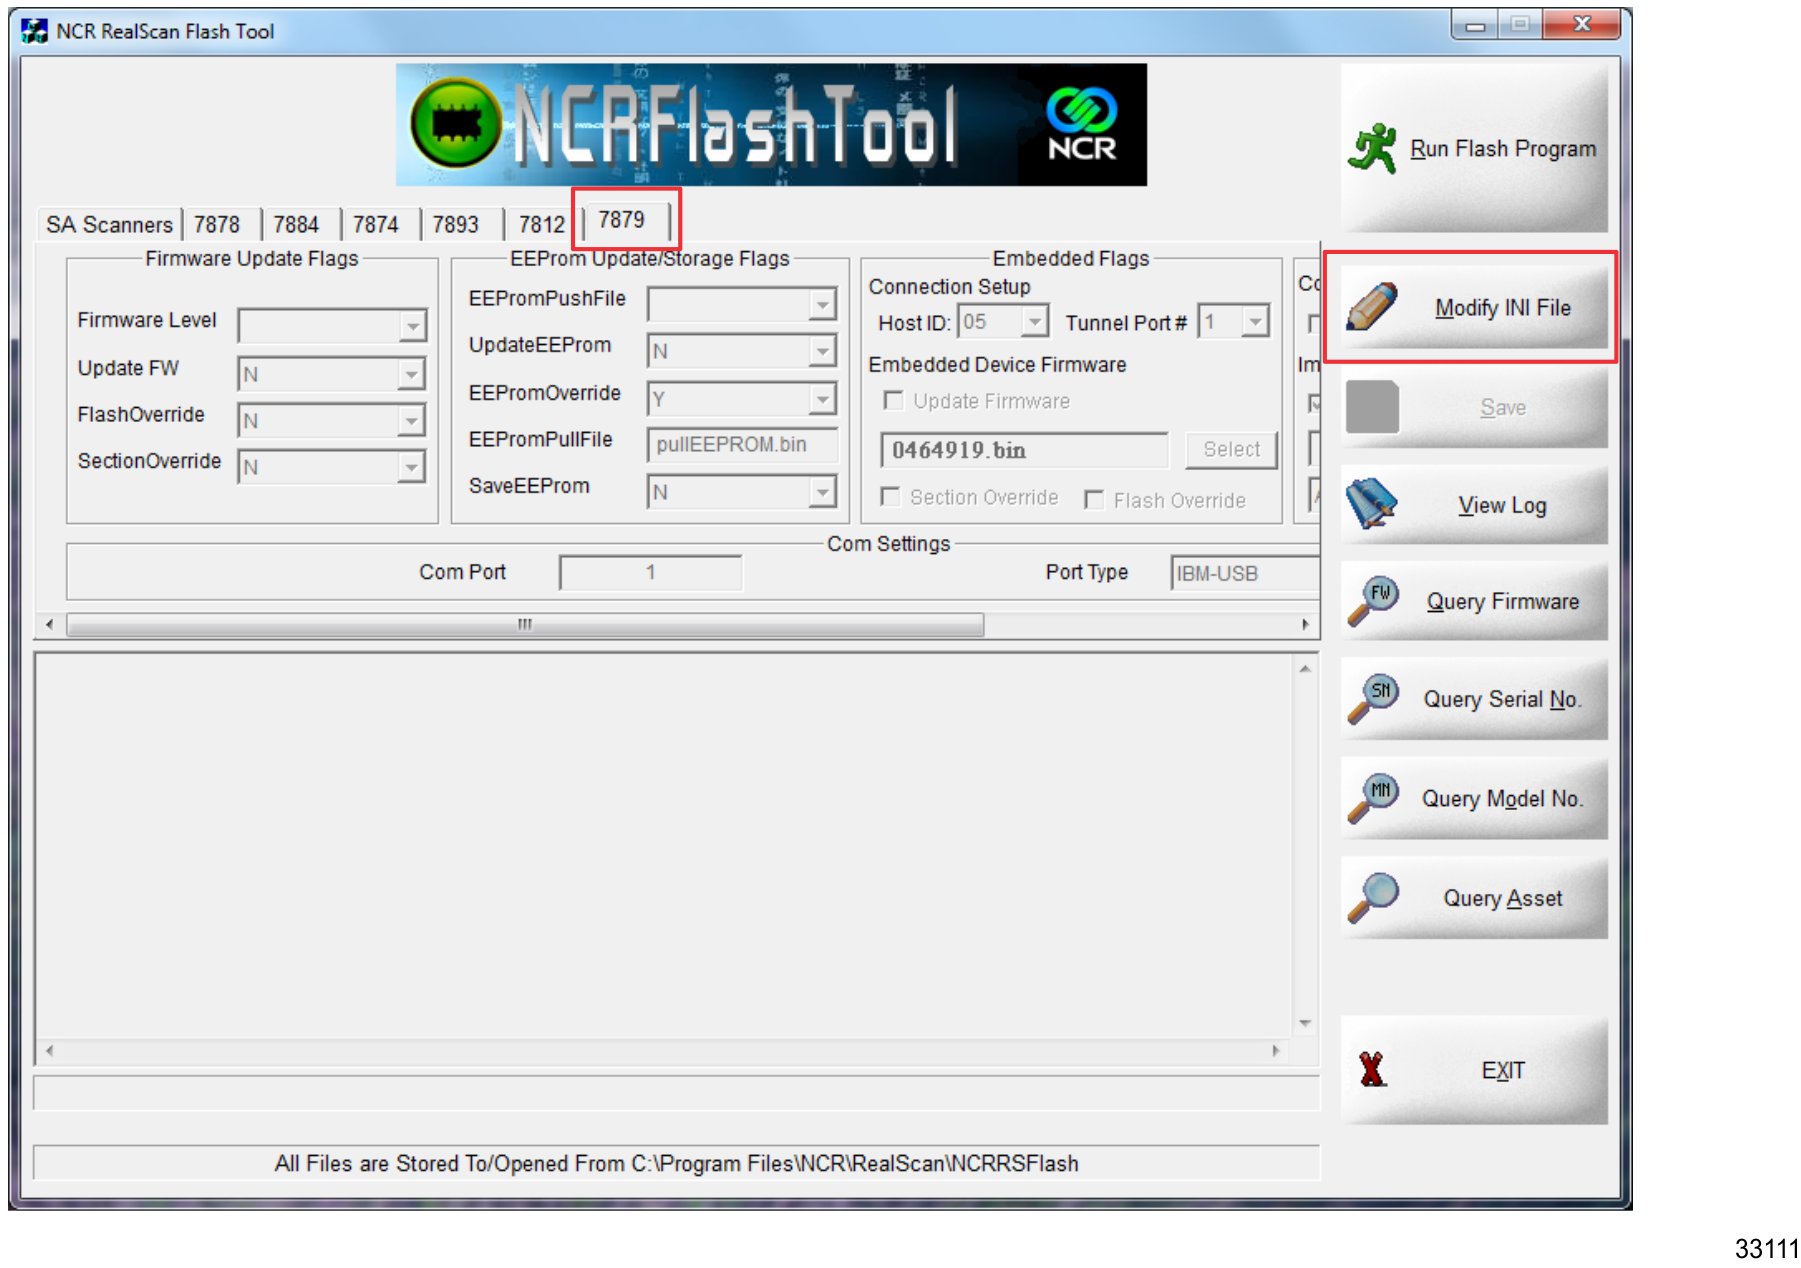
4.Run the NCR Flash Tool.
5.To configure the scanner settings, select the 7879 tab; then click the Modify INI File button.
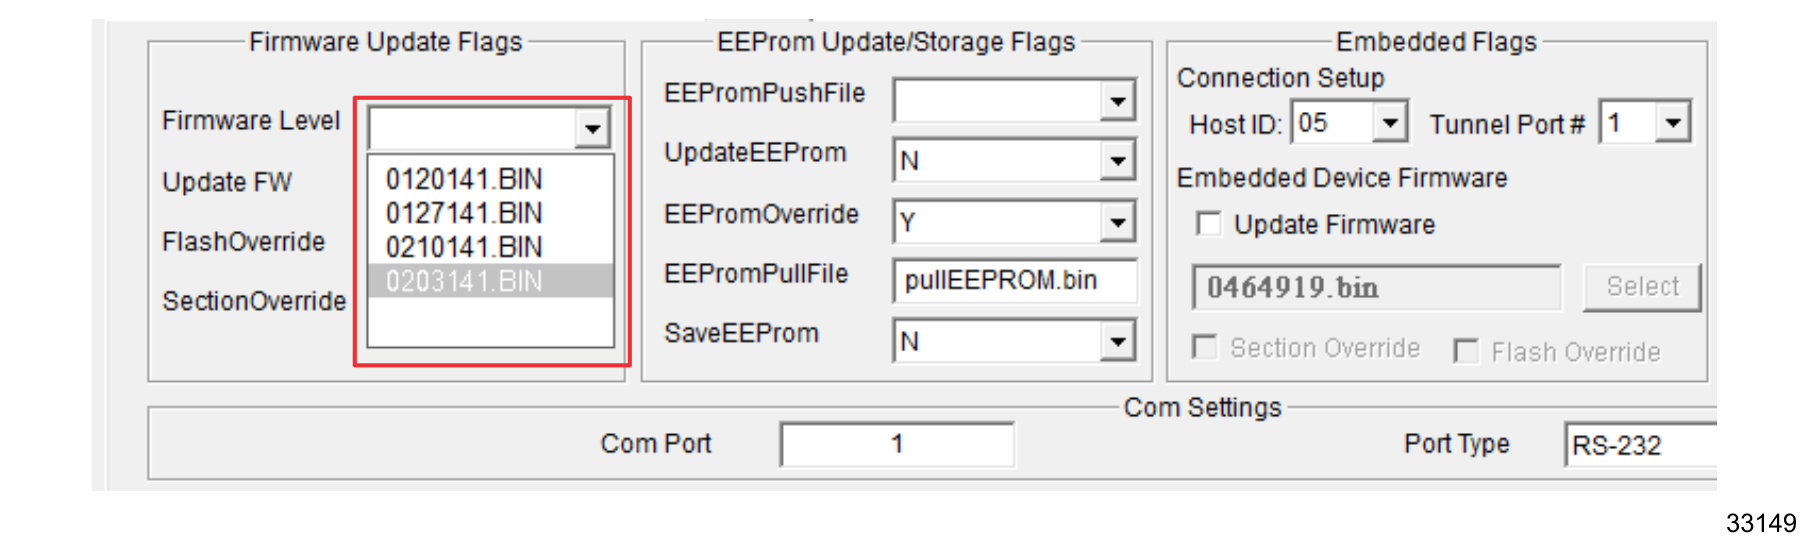
6.Make the appropriate entries in the Com Settings section.
•Enter the Communications Port being used in the Com Port box.
•Click the Port Type down-arrow and select the Communications Protocol – the default is RS-232.

7.Choose the Firmware version. In the Firmware Update Flags section click the Firmware Level down-arrow and select the Firmware Version to load on the NCR 7879.
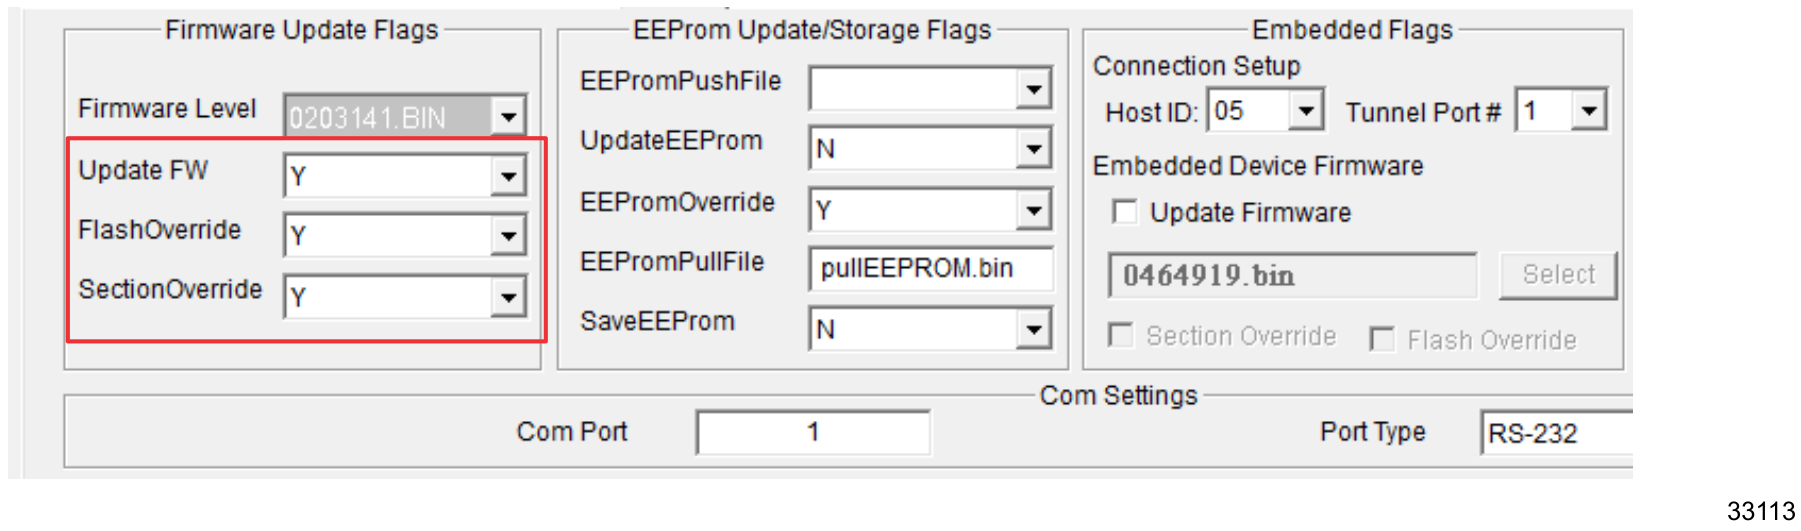
8.Set additional Firmware Update Flags.
•Update FW = Y
•FlashOverride = Y
•SectionOverride = Y
9.Click the Save button to save the information entered.

10.Click the Query Firmware button to verify that the communication settings are correct.

11.After all scanner settings are configured, start flashing the firmware to the NCR 7879 by clicking the Run Flash Program button.

12.Close the information dialog box that displays by clicking the OK button.
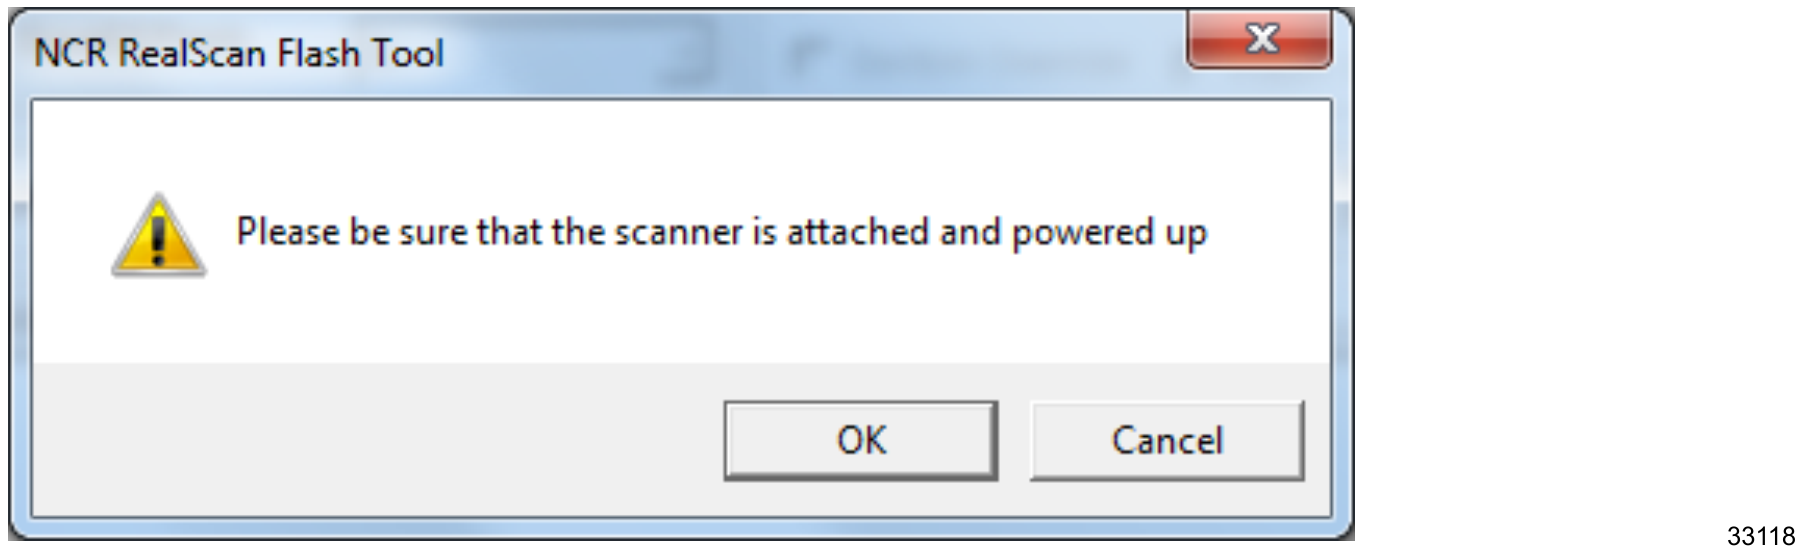
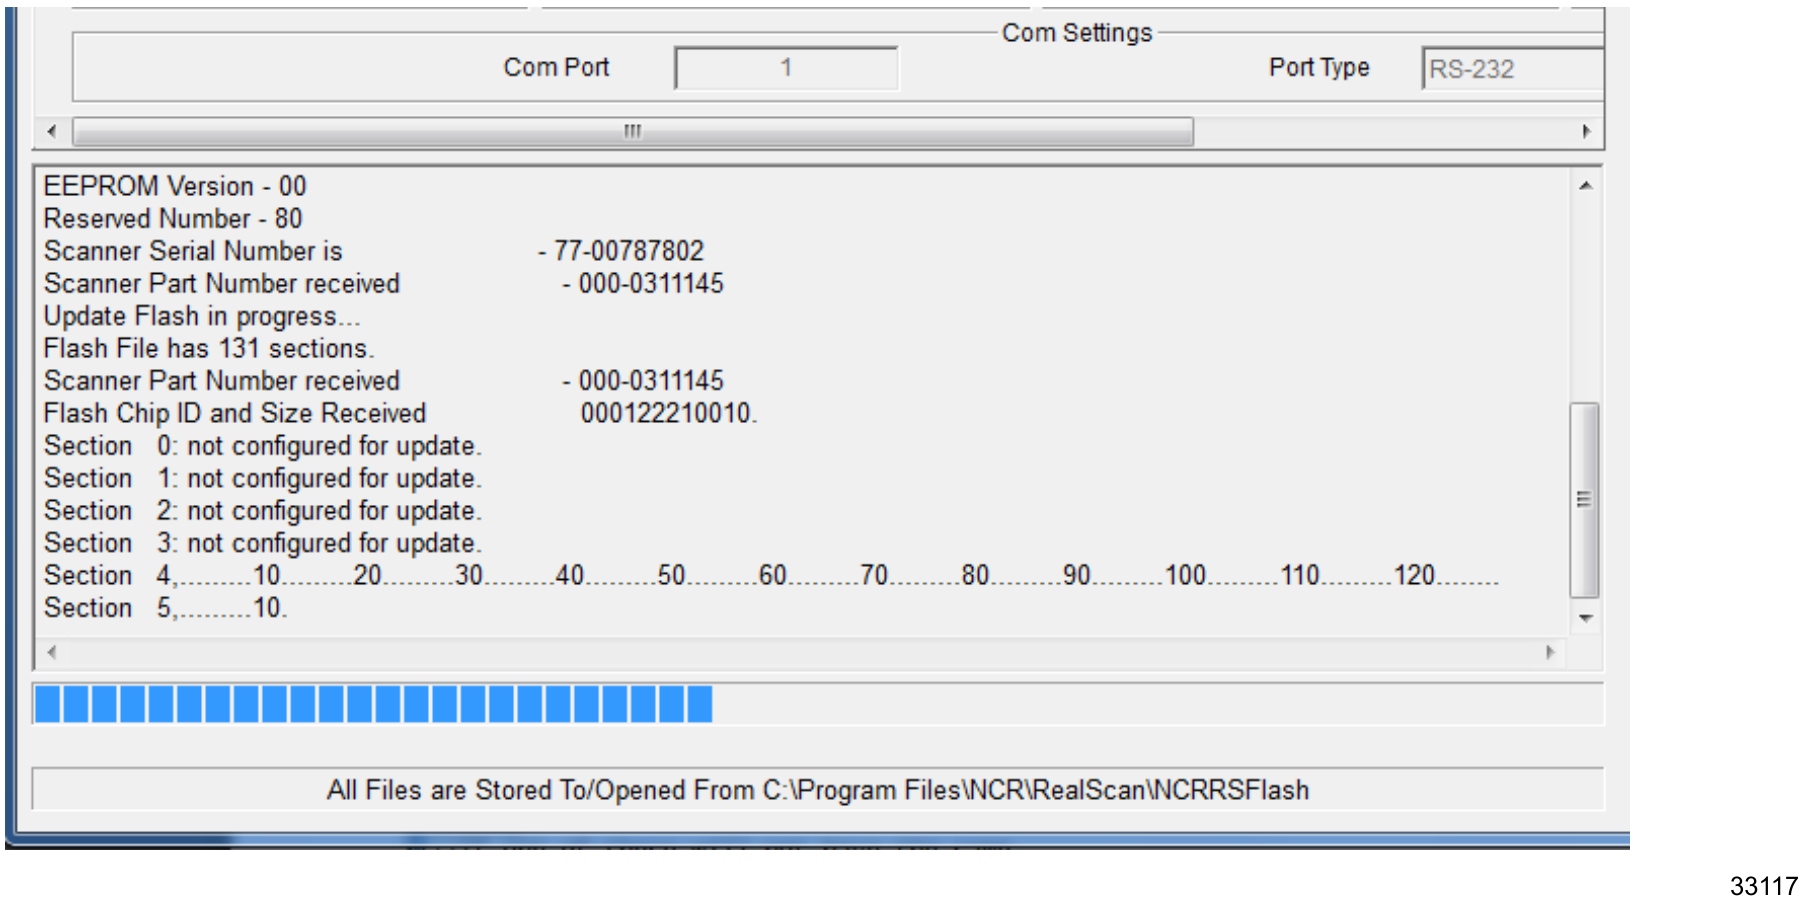
13.The application initializes communication with the scanner in the port you specified in the settings. When initialization is successful, the following window displays showing the progress of the flashing process.
14.Exit the NCR Flash Tool application and disconnect the scanner from the PC or host terminal once firmware flashing is finished.